1.
Learning how to do landscape materials.
2. There were a few things wrong with the landscape tools
like for example the visibility tool wouldn't cut holes in the landscape so instead
I thought that I could have a cinematic instead to take you through after
solving the puzzle.
3. Painting the landscape and experimenting what materiel
goes well.
4. Now it was time for me to lay down all the stairs for the
temple path but I had to create them in Maya first and export them over.
5. My level need somewhere interesting to start so I thought
of a door you can go through to enter the game. (489 Tris)
6. Carefully measured the door to confirm that it fit the giant
frame. I kept the theme of my temple puzzle. The round puzzle door has star
signs and so this door has the sun and moon as a lock.(Maya render,670 tris)
7. At this point I need some type of view point to look at
my environment so I quickly modelled and textured this into UDK. At the same
time it textured the door and the frame.(Maya Render)
8. Odd tweaks here
and there. Textures on my pillar need sorting and I needed to construct many
flights of stairs down from the entrance with side blocks.
a.
b.
c.
9. Placing of the pipes was a hard task to do. The 5 sided
pipe wasn't perfectly symmetrical so I had to be clever and find a way to show
my pipes lined up with each other.
10. When I was forming the rocks for the environment I slowly
started to realise the potential of normal mapping as I knew it was difficult
for me to figure out the NDO software. It also didn't help that I was doing all
this through a dark laptop screen which had no screen back lighting.
a.
b.
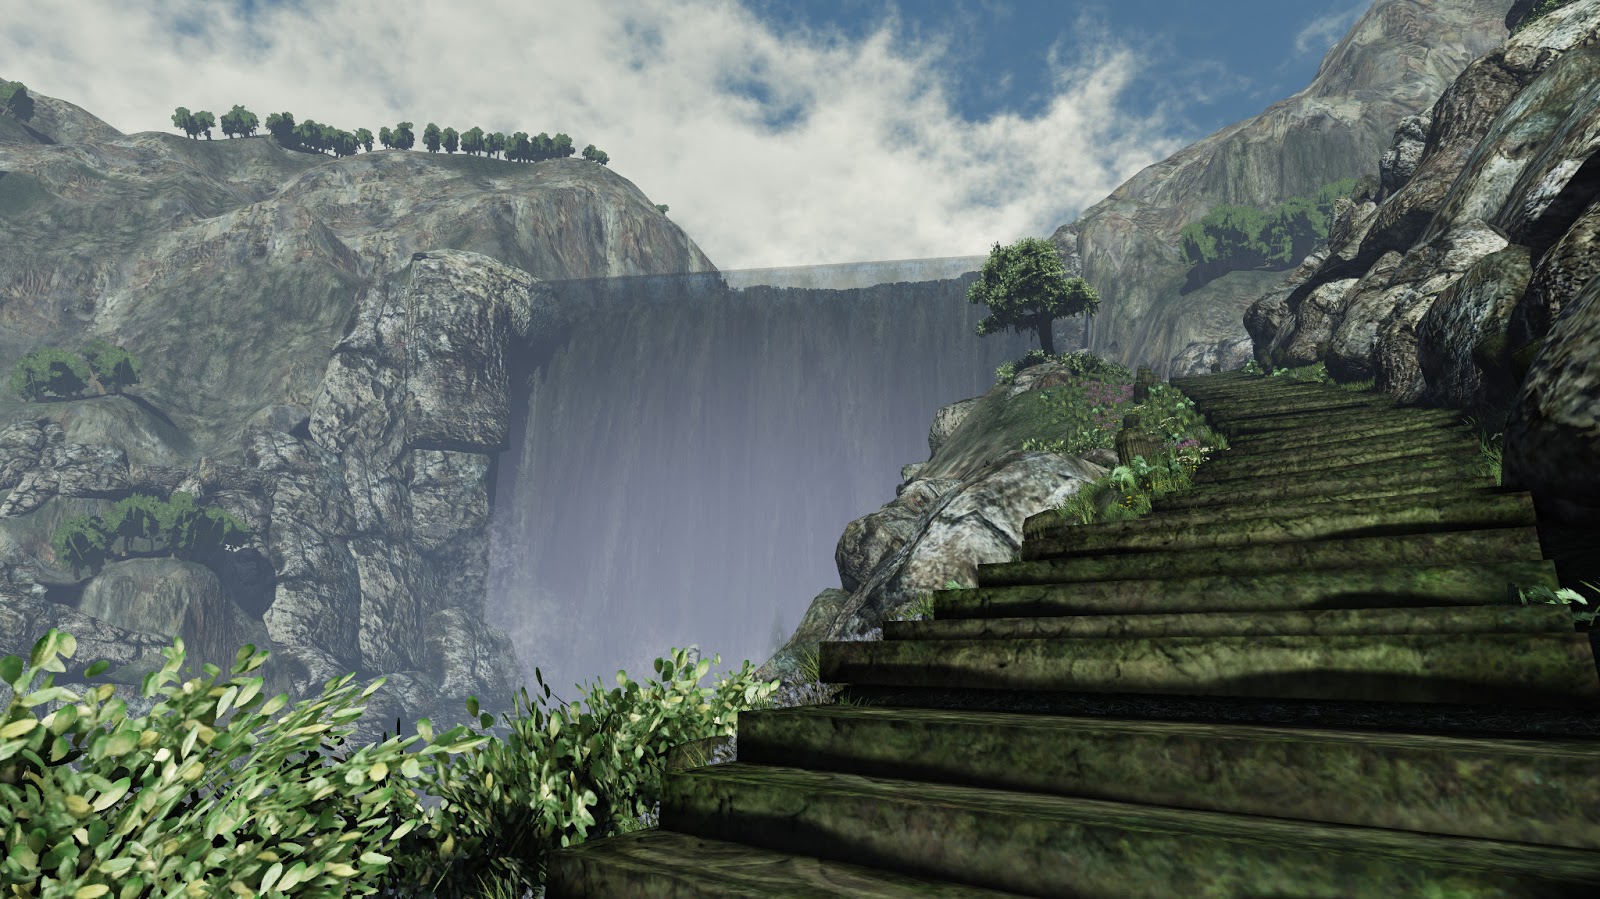
11. Rock placement. I studied cliffs to get a feel where I
should place the rocks and found that a near enough solid straight cliff face
does look a lot better then a really rough cliff side.
12. This is the time when I started to work with the foliage
tool using my own foliage meshes.
13. In half a day I quickly learnt speed tree and put the
trees it into my level BUT regrettable because I now had these trees in the
Lightmass kept on failing to build! So I had to remove them and manually create
my trees in Maya.
a.
b.
14. Deadline was a month away so I had to get more assets
into my level for the bottom half and I only managed to get half of these
textured and exported into UDK.
15. Examples of extra assets.
16. At this point some of the shadows on my object were
getting messed up (shadow bleeding) So I did some tests and studied light map
tutorials carefully. I found all my light mapping textures were wrong but I
didn't have enough time to fix so I winged it and fixed the important meshes
and that day I learnt allot more about light Mapping.