In the Second semester my goal was to improve my Maya skills and heighten my understanding of photography, texturing, 3d modelling, rendering and many other features and techniques. The aim for this third and final semester was for me to tackle the UDK engine for the second time to make it a playable level with more art ideas, then to carry out the design of the level.
The First thing I had to do was to
try to import everything into UDK from Maya. There were of course problems such
as the exporting of the meshes collision frame and the finding out that the
mesh needed lightmaps. These Lightmaps took me a while to figure out and I
still haven’t got them perfect even now at the end of semester 3. The features
that are available in UDK were completely new to me as an artist but I
persevered and got the vast majority imported into UDK. I still have a few
problems with it which I hope to solve soon, mainly the terrain and landscape
tools. I moulded the terrain the way I wanted and during texturing it
completely glitched the textures whilst having this problem I found out that
the terrain tool isn’t used anymore, my solution was to start from scratch and
so I redesigned the layout of my level. Yet again there was a problem with the
landscape tool that wasn’t cutting the hole in the landscape for my underground
base, so I figure had to away around it through a cinematic and by
teleportation.
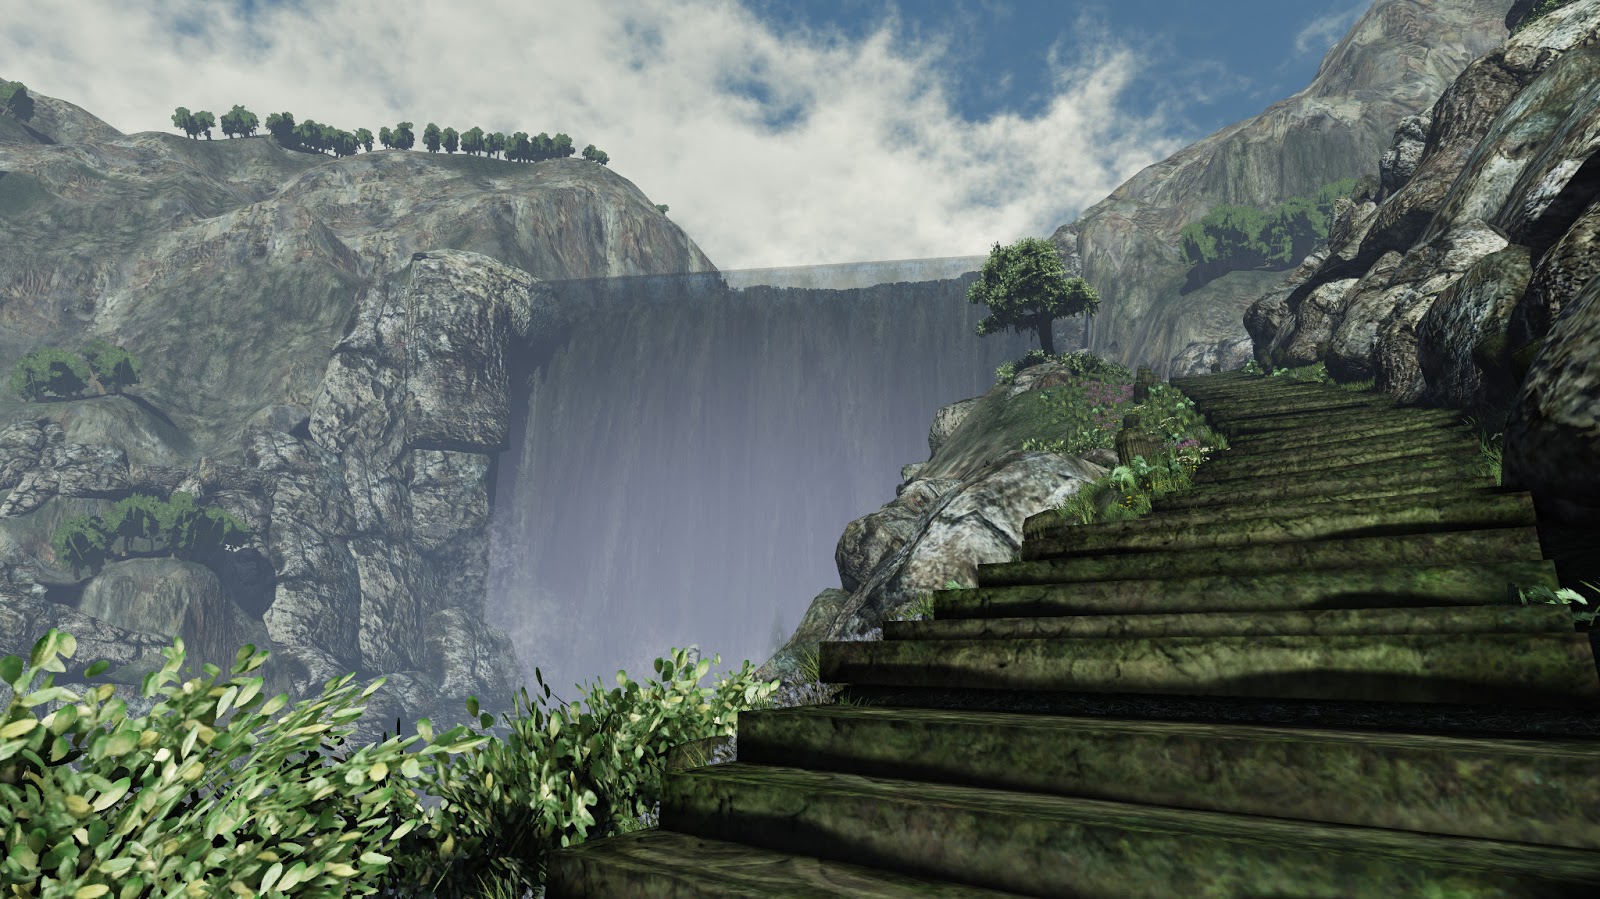
One of my major problems I
encountered was that I made the poly speed trees too high. From my artistic
side they looked fantastic but in the editor it was a big problem. It took me a
long time to figure out the reason why my level wouldn’t build the lighting, it
was because the lightmass builder didn’t agree with the trees therefore I
failed every time to build them and so I had to then make the trees in Maya by
hand.
Even though I had these problems
that I was struggling to understand I pushed ahead, finding temporary answers them as I
continued. From that point on I stopped listening to my artist side and started
to knuckle down on the design of the underground level. The important assets
such as the levers and movers were modelled first so I could layout the level
quickly. Design ideas started to flow back to me as I produced the dissertation
on game theory , I took all things into consideration and used colour theory
for improving the feel and atmosphere of
the game, I guided players by using visuals and lights to show the player were
to go. The time saving asset building I found came in really useful when
planning the layout.
The major problem in my project is
my artistic and design creativity constantly being at odds with each other. The
artist side usually wins because that’s my nature. I love see things that are
aesthetically pleasing. This did affect my workflow heavily so my design side
of me kicked in, but it was only at the end of the project even so it did
enable me to make little change here and there to help problem solve. This also
affected me in the final production lighting build because I was extremely keen
to have a hole in the landscape but I messed up on the components which
produced a terrible gridded shadow map, this momentarily sent me into a panic
but thankful I found and rectified the problem before the deadline day.
Overall I have learnt so much about
UDK especially concerning its animation and light mapping the landscape tool,
many Kismet sequences and triggers, the matinee, movie cinematic and animation
effects, volumes, lightmass and many more tools and features the result is that
I have learnt to me more aware of the workings of engines and their practicality. The journey has been
inspirational and it will benefit me in my future projects and employment. So
From this experience I have taken away a much greater knowledge of the difficulty to comprehend and
use together both sides of game theory and aesthetics.